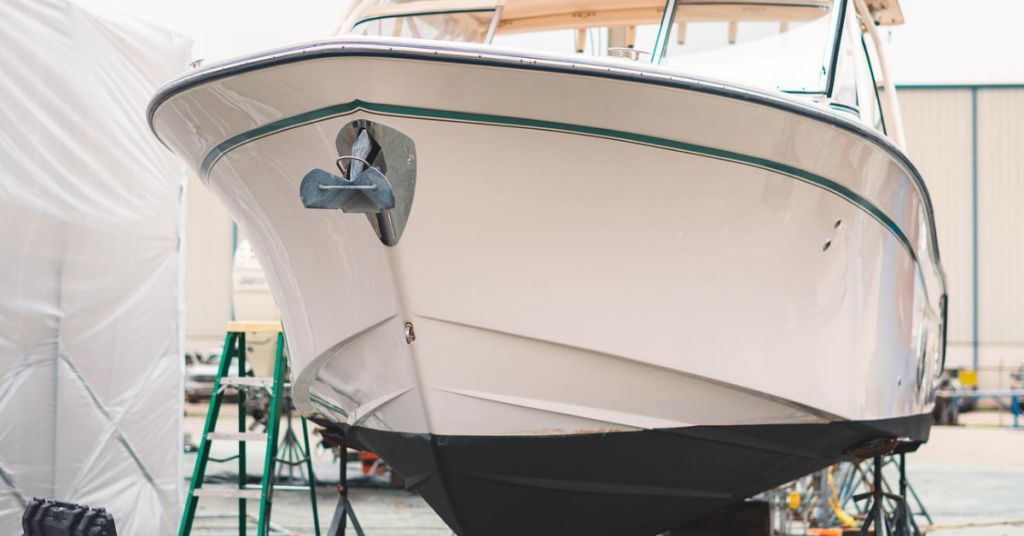
The gel coat’s relatively soft surface gradually becomes dull and chalky due to wear and tear from time and exposure. Refreshed gel coat application leads to better leveling, water resistance, UV light stability, gloss retention, and long-term durability. Here are a few steps and measures for gel coat application.
Prep The Surface
Always start with a clean workspace to begin the gel coat application. Be sure to clear the boat hull of all debris, old tapes, and other objects.
Before beginning the project, take precautions to cover and safeguard the rest of the boat. Something to note, masking tape won’t offer as good protection as duct tape.
Acetone cleans better than other products because it does not leave a residue and evaporates quickly.
As soon as the surface is clean; start moving. If it has been sitting for some time, you will have to re-clean the surface. On the surface, dust and dirt particles are your enemies, so make sure you thoroughly clean them.
Working time
Gelcoat will activate (be catalyzed) in around 45 to an hour. It will also be touchable and won’t rub off on your skin.
Apply the gel coat in 4-5 layers, allowing 15-20 minutes between each application to get a final thickness of 20-25 mils. Each layer should be about 5 mils thick.
Wait until the gel coat is tacked up, which takes about 20 minutes after the final coat. Then the lay-up phase can start. While you sit back and enjoy a cold beverage, gather your supplies for the next few steps.
Wet Sanding
Use 600–800 grit wet–dry sandpaper. Add a few drops of dish soap to your wet sandpaper to help it last longer. Rinse the surface often and be careful not to sand too hard in any one spot.
A window squeegee will help to cut glare for viewing the gel coat’s final result. Cutting the glare will allow you to see the texture and even/unevenness of the gel coat application. After wet-sanding the hull to an even matte finish and dullness, it should be washed down with fresh water.
Heat Protection
When applying Gelcoat, keep in mind that heat will not be in your favor. This is something you should absolutely think about if you live in Florida.
You can extend the life of your Gelcoat by storing it in cool conditions around 65 degrees Fahrenheit.
Additionally, humidity makes any project more challenging. Make sure everything is dry before applying the gel coat if you live in an overly humid environment. Check your calendar for lower humidity days or to apply the gel coat in an air-conditioned facility if possible.
Vinylester
Compared to polyester resin, the vinyl ester is more durable, has better adherence, and is of higher quality. A gel coat is the initial resin layer that is put on the completed mold. The finish of the surface laminations offers defense against chemicals, elements, moisture, and other biological elements.
Gelcoats made of vinyl ester are more expensive than those made of polyester resin, and they also last longer. The vinyl ester is less susceptible to humidity than polyester. Vinyl ester is more impact-absorbing and less likely to slowly crack as a result. If you want long-term protection, choose a vinyl ester. It is more expensive, but it will provide better protection.
Small Batches
Use minimal amounts at a time and keep the batches small to prevent gel coat material from overheating. If the temperature is not cool, the Gelcoat can not work. With that being said, be sure you are in a shaded area and not in direct sunlight!
Using a millimeter gauge, you must apply your coat at a thickness of roughly 15-20 mils for proper gel coat application.
After the gel coat dries for 1-3 hours, sand and buff it. Let it set overnight before continuing. This enables a bright finish.
Wax Additive
The last layer of gelcoat or polyester laminating resin is coated with a wax additive. The wax provides a surface that is tack-free and allows the material to cure to a firm finish. Only the final layer requires a wax additive to solidify.
The resin cures and becomes tack-free when the wax additive forms an air barrier. This process makes it ready for sanding.
The paraffin element may harden inside the container at temperatures lower than 70°F. Place the container in the sun or in front of a lamp to make it liquid again.
Wax Additive Is Flammable; Please Use Caution!
Protect With Wax
The actions you take after the job are as crucial as all those you take when doing it. After the final coat, you need to regularly wax the paint’s finish if you want the gel coat to last longer.
When a boat is waxed, the hull surface has a high gloss, giving it a sleek appearance. Waxing also shields from the strong sun, saltwater, and any other elements that cause harm to the boat. Wax makes everything easier to clean and wash down while also being super easy to remove and reapply if needed.
Clean up
When applying gel coat, there will be clean-up time to account for. This will include cleaning the mess with the use of solvents. Solvents can be used to clean everything from brushes, spray guns, and wiping off finished work. Prepare by having something for the clean-up before you start with any project. Especially projects that involve harsh chemicals and fast-drying laminates.
Boat Detailing Professionals
Bilbo’s Marine serves boat owners all the way from Broward to Jupiter. They are a group of experienced professionals who are reliable and skilled with boat repairs and servicing.
Bilbo’s Marine offers services that range from weekly washing to complete gel-coat and fiberglass repairs. They use high-quality materials to ensure longevity and long-term preservation. Bilbo’s team puts all of their efforts into providing the best service they can. Give us a call to request a quote and protect your investment today!
