

As a boat owner, you are aware of the millions of threats under the water that can damage your boat, especially the living ones. We’re talking about microscopic marine creatures like acorn barnacles, zebra mussels, and slime-causing bacteria. Critters like these cause serious hull drag and drain your pocket with greater fuel and maintenance fees. You might not even notice them until it’s too late because they don’t attack you with whirling violent tentacles, at least not visible ones. What you’ll notice — and want to avoid — is the unpleasant, filthy, slimy mess they leave on the bottom of your hull. This reduces your speed and raises your fuel cost because your motor has to work harder.
Whether it’s DIY or you hire us here at Bilbo’s Marine, by following these guidelines, we can guarantee that you’ll have a flawless paint job that will look great with these tips.
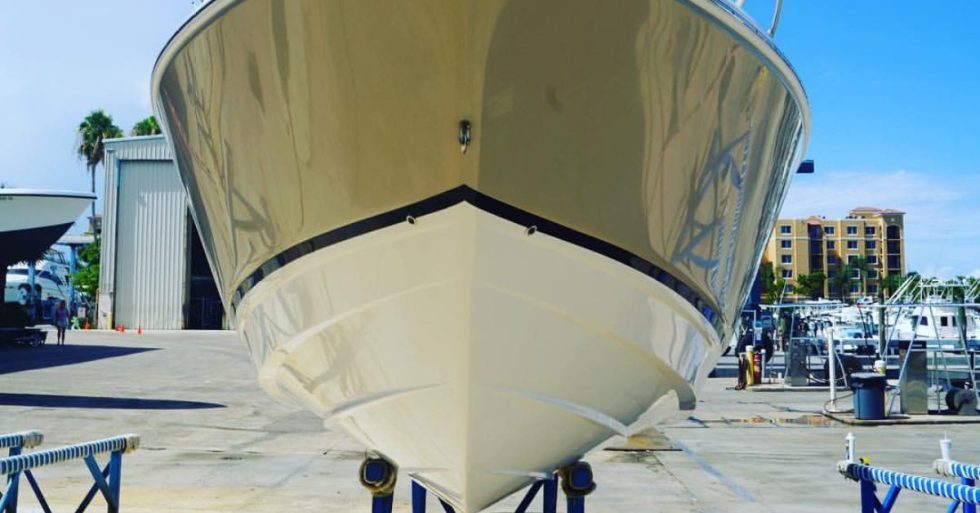
Cleaning
Before you can paint the bottom of your boat you need to clean.
The slime and bacteria can be tough to remove when it dries on the boat and will take some elbow grease for removal.
Fortunately, when you store your boat at a boatyard they will pressure clean the bottom and scrub off build-up before storing. If portions of bottom paint peel off while the washer nozzle is being used, request that the yard staff make an extra pass to eliminate as much loose paint as necessary.
Stripping
Remember that the suction of the new paint is only as good as the adhesion of the paint beneath it, so keep an eye out for indicators of adhesion breakdown. Scratch exposed edges with a knife or tiny chisel wherever the previous paint is peeling or separating.
If you are replacing the type of paint, you may need to remove the bottom as well. This is because the chemicals in vinyl paint peel other types of paints. Soft, sloughing paints are also a terrible foundation unless it’s for a new coat of the same.
Strip using a 2-inch hook scraper is the safest option for both you and the environment, and it is typically the simplest method as well. However, when using a chemical stripper make sure it is designed for fiberglass; conventional strippers can damage the gel coat.
Sanding
In general, if the existing paint is in excellent shape, you merely need to sand it, clean it, seal the waterline, and apply a new coat or two. A sander with 80-grit disks mounted on a foam pad may swiftly prep a hull for re-coating, but it can also easily eat through the paint and into the lamination.
If you don’t have any experience with this strong instrument, 80-grit paper in a random orbit sander or a finishing sander will perform the same task in a slower manner but with far less risk to the hull. Never use a belt sander; it is meant to flatten objects, which is exactly what it will do to your hull.
Even if you are not removing the bottom, it is a good idea to sand away the previous application. This minimizes a heavy build-up that will later get brittle and force new paint to flake. A distinct color base coat serves as an indication that you’ve sanded sufficiently.
Bare Fiberglass
A hull that was recently painted contains mold release wax on the fiberglass that will interfere with paint application until it is removed. Before sanding, carefully clean the hull panel using dewaxing solvent and lots of clean cloths; otherwise, sanding pulls the wax into the scratches, making removal even more difficult.
Sand the de-waxed hull lightly with 80-grit paper before adding the first layer of paint — the flag coat — which should be a different color than the topcoat.
Mix
If the boatyard has a paint shaker, use it for at least 5 minutes to properly spread the copper and coloring throughout the paint. A drill-powered stirring paddle will also work well. In the event of either, pour half the paint into a mixing bucket so you may briskly mix the remaining portion without splattering paint on the floor.
Continue digging up the copper from the can’s base until the base feels clean to the touch of your paddle. Mix in the paint gradually until it is consistent in color and viscosity. If the paint has been sitting on the shelf for a long time, it may take 10 or 15 minutes to completely mix it, but don’t rush. if the copper isn’t equally spread, certain portions of your hull won’t be affected.
Roll
Using a short-nap roller cover, roll the paint onto the hull. An extension for the handle will make painting the keel simpler and protect you from the inevitable drips that the roller will fling. Unless the supplier instructs otherwise, do not apply thinner to the bottom paint.
Fill the bottom of your paint tray with paint. Dip your roller, dump it on the tray slope, then roll it up and down the hull, from baseline to keel. Working quickly is important since many bottoms paint dry fast. When you replace the paint tray, first swirl the paint in the can to ensure the copper stays intact. Prepare the bare parts by applying the necessary amount of layers.
Prop & Shaft
We recommend not to paint the prop because copper-based paint won’t last long on a bronze prop or bronze rudders and struts. Prop paints are offered, however, it’s a time-consuming prep — up to four prime coats. We prefer a thick coat of wax on the prop that will keep it clean for a while.
When painting the shaft don’t forget about the anodes too. When installing new anodes, make sure you do not paint over their mounting sites. Anodes must have good electrical contact in order to function properly.
Allow the bottom paint to have enough drying time. At least overnight before using masking tape and painting the boot stripe. Inject hard bottom paint into the water within the period stated on the label.
Contact Us:
If you’re in the market for great boat paint or need professional bottom painting, contact Bilbo’s Marine for further information.